
 Image 1 of 1
Product Description
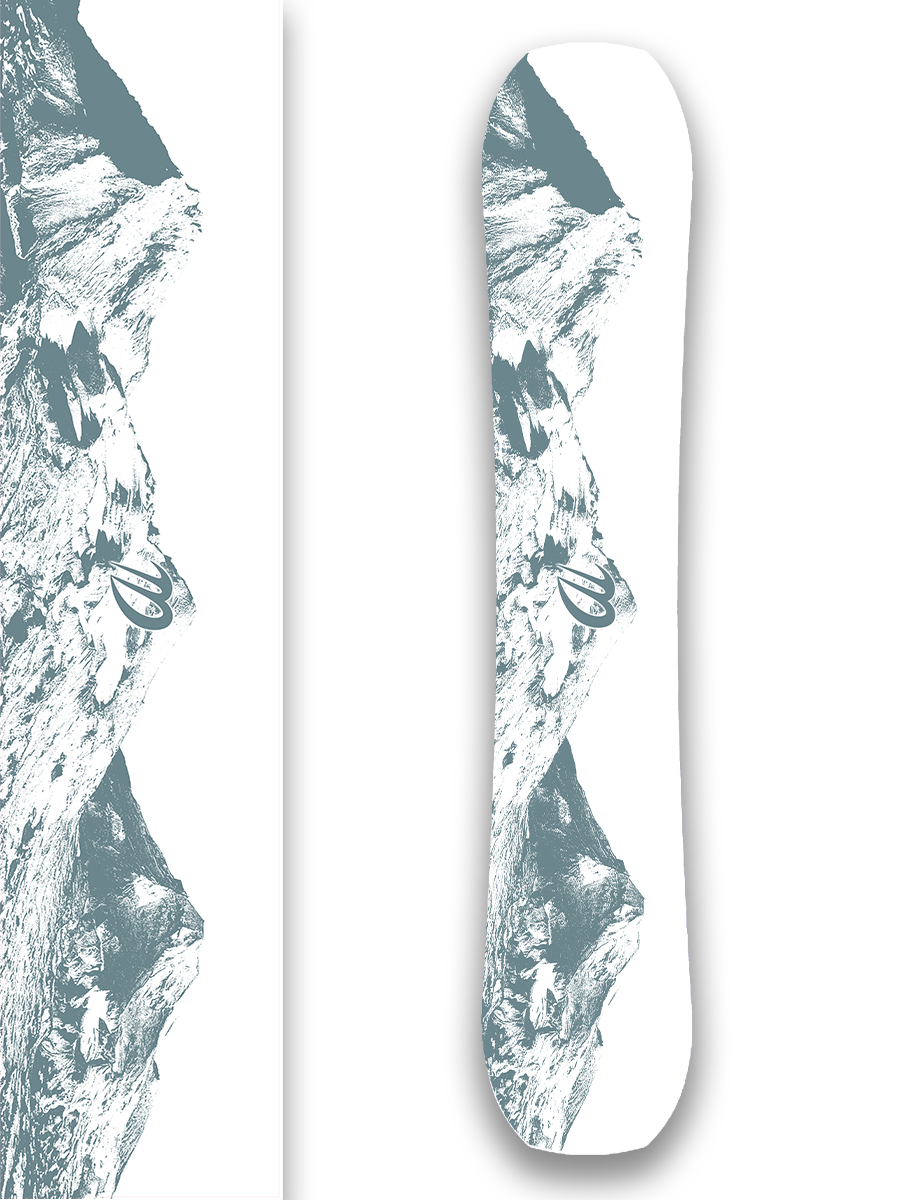
Made with high-quality Arlon vehicle-grade vinyl, these wraps are designed for durability, flexibility, and a professional finish. Built to withstand the demands of outdoor use, the vinyl offers strong air-release adhesion and vibrant, long-lasting graphics. Each wrap can be trimmed to fit your snowboard’s unique shape, allowing you to customize your setup without permanently altering your board. Every wrap includes an application squeegee, a new razor blade, and a microfiber towel to help make installation smooth and precise. Whether you're refreshing an old board or creating a completely new look, our wraps provide everything you need for a clean, custom finish.
Whats Included
Vinyl sheet at entered size
Squeegee
New razor blade
Microfiber towel
Application instructions
BOARD NOT INCLUDED
APPLication process
For best results, apply in a clean, warm, dust-free area.
What You’ll Need
Snowboard wrap
Squeegee
Microfiber towel
Razor blade
Masking tape or painter's tape
Heat gun or hair dryer (optional)
1. Prep the Board
Remove bindings and accessories.
Thoroughly clean the snowboard's topsheet.
Ensure the surface is completely dry and free of dust and debris.
2. Position the Wrap
Lay the wrap over the snowboard with the backing paper still attached.
Center and align the wrap with the board.
Check positioning before removing any backing.
3. Create a Center Hinge
Apply a strip of masking tape across the middle of the wrap, perpendicular to the board's length.
Secure the tape to the work surface on both sides to hold the wrap in position.
Ensure the wrap remains centered and aligned.
4. Apply the First Half
Fold one half of the wrap back toward the center hinge.
Peel away the backing paper from the folded half, cutting away the exposed backing carefully.
Slowly apply the vinyl using the squeegee, working from the center toward the end.
Squeegee outward from the center to eliminate air bubbles.
5. Apply the Second Half
Carefully remove the center hinge tape.
Fold back the remaining half and remove its backing paper.
Repeat the application process, working from the center toward the opposite end.
Smooth out any remaining air bubbles.
6. Work Curves and Edges
Use gentle heat if necessary to help the vinyl conform to curves.
Smooth the wrap around the nose, tail, and edges.
Press firmly along all edges to ensure adhesion.
7. Trim Excess
Carefully trim excess vinyl along the snowboard's outline using a sharp razor.
Avoid cutting into the board or damaging its edges.
Carefully open the binding mounting holes.
Reinstall bindings once the wrap is fully applied.
Application Tips
Work slowly, applying even pressure with the squeegee.
Always squeegee from the center outward.
Use gentle heat only when necessary.
If bubbles appear, gently lift and reapply the affected section.
Avoid overstretching or overheating the vinyl.
Check all edges for secure adhesion before riding.